Some of the ladies contacting me have very basic computer skills it seems and need help, so I am including here a step by step via screenshot and video to try and help you as best I can. I wish I could just go in and do it for you, but it is against the rules to do so, so I can’t. This is the best I can offer.
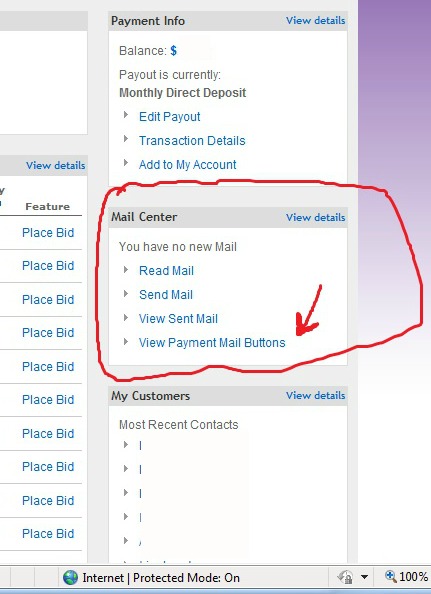
1. Where do I go to even begin to make a tip (payment request), or pay to view button?
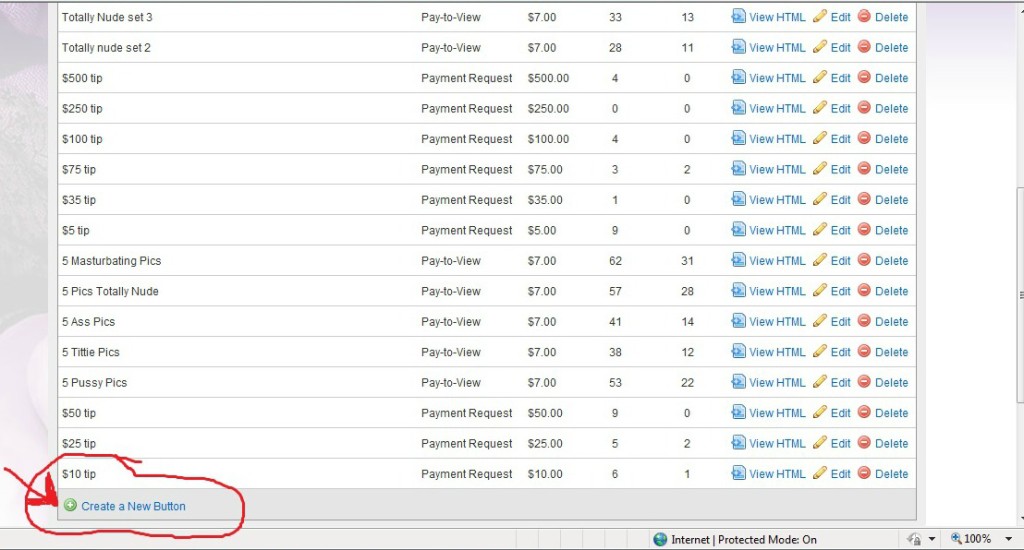
2. Click the “Payment Mail Buttons” and it will take you to this screen below.
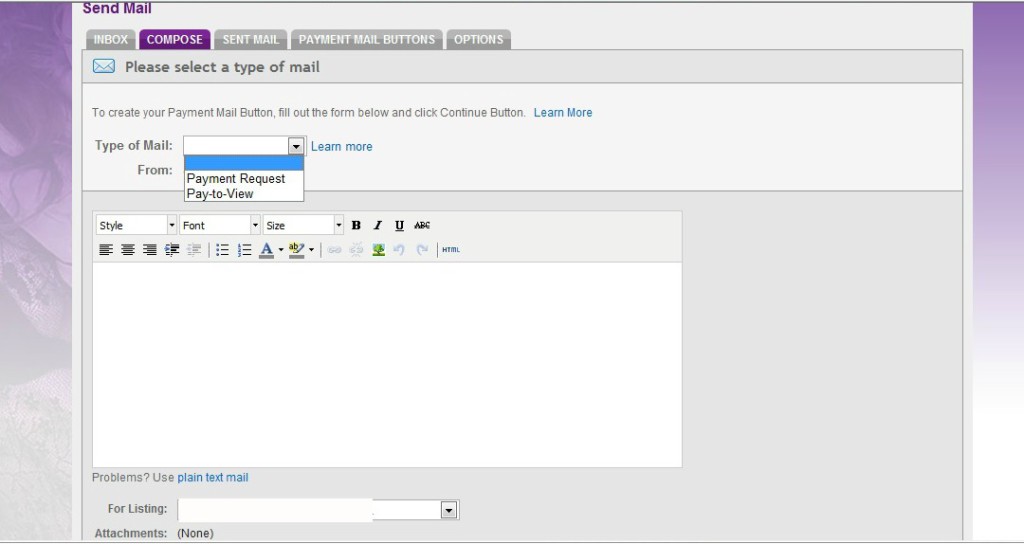
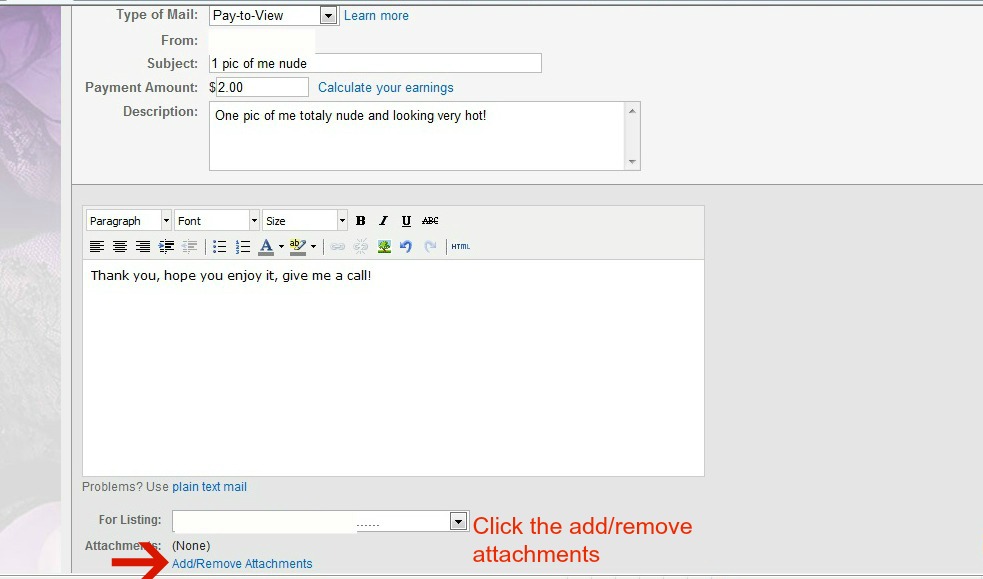
3. You will then be taken to a screen shown below. From the drop down menu either choose “Payment Request” if you wish to make a tip button, or “Pay to View” if you are wanting to attach a file. You may add up to 5 files.
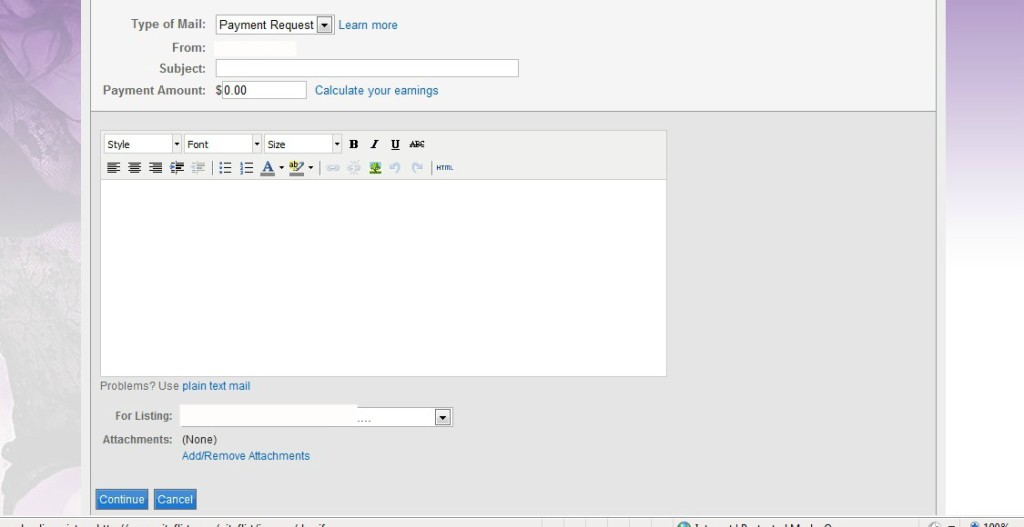
4. Once you have made your selection, you will see this screen below.
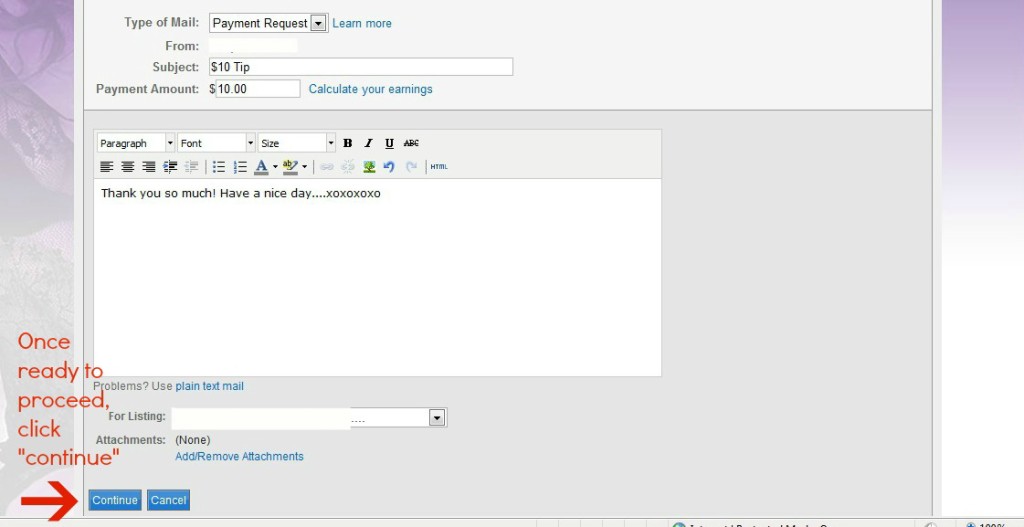
5. Now fill in the fields, price what you are wanting for that particular tip button, in this example I typed in $10. The subject line would read as I have put it so the customer knows “$10 Tip”. Then in the body of the email, place a short thank you sentence. Once ready to proceed, click “continue”.
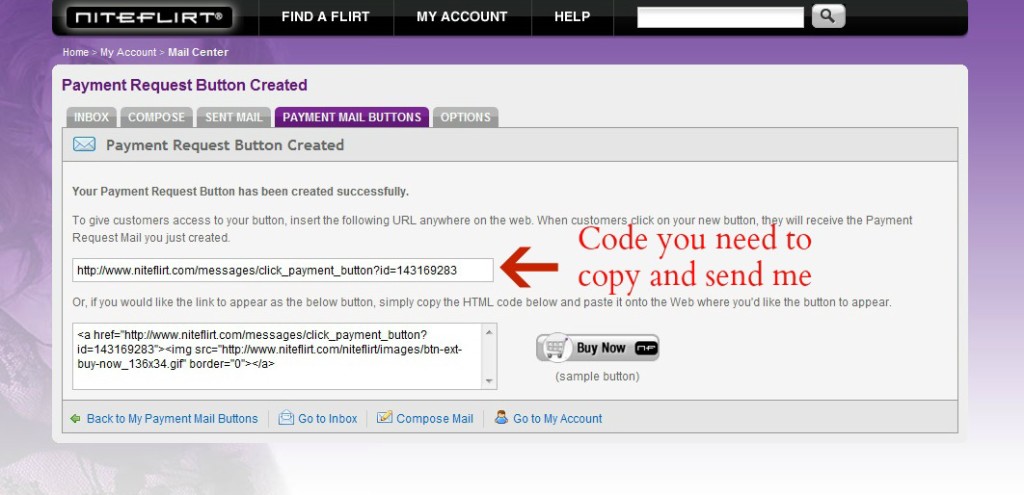
6. You will then be taken to the next screen seen below that has code on it you need to copy and paste to me. If you know how to copy and paste it into a text file, that is the best way, into the body of an email you send me will also work, but it’s easier to keep things separate and more organized if each pay to view button or tip button code is on its own properly labeled file.
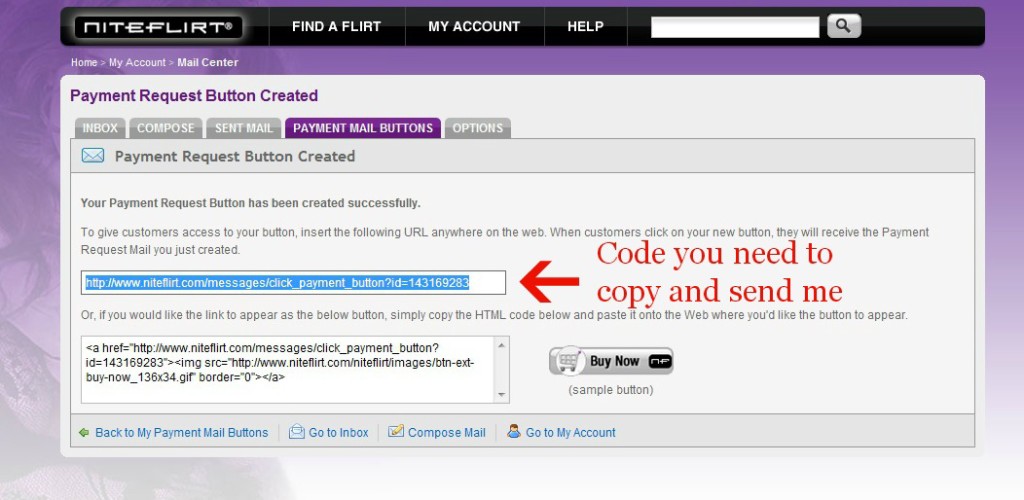
7. Now copy and paste that line beside the arrow, it will then look blue like the screenshot below.
The following may further help you understand how to copy and paste. These are skills you must have to insert the final code I will give you. I know it can seem confusing if your skills are basic, but you will get it. I wasn’t born knowing how to do it either, and also had no one to show me, I too learned from looking it up online and via videos such as this.
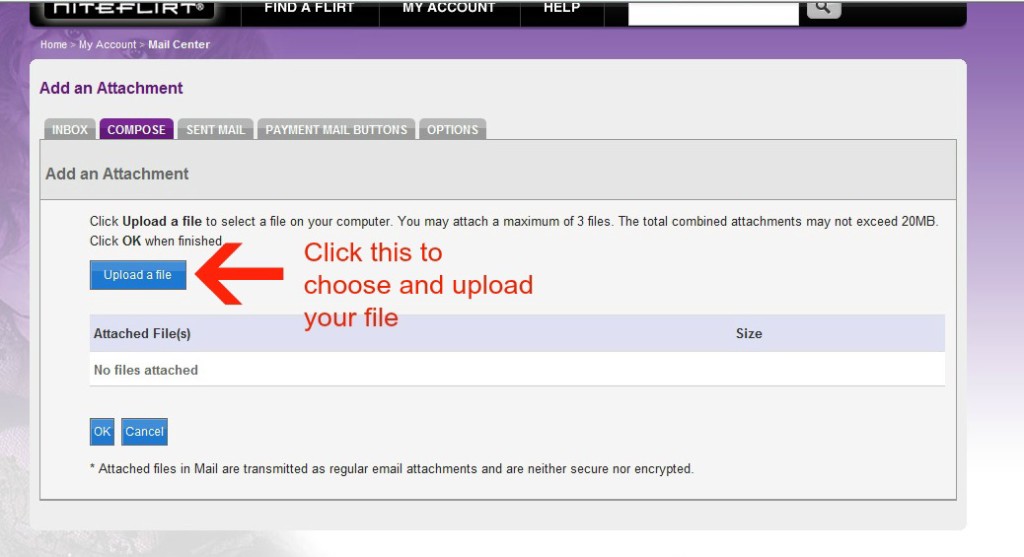
8. Now you will see the following screen below.
9. That will then take you to the screen below.
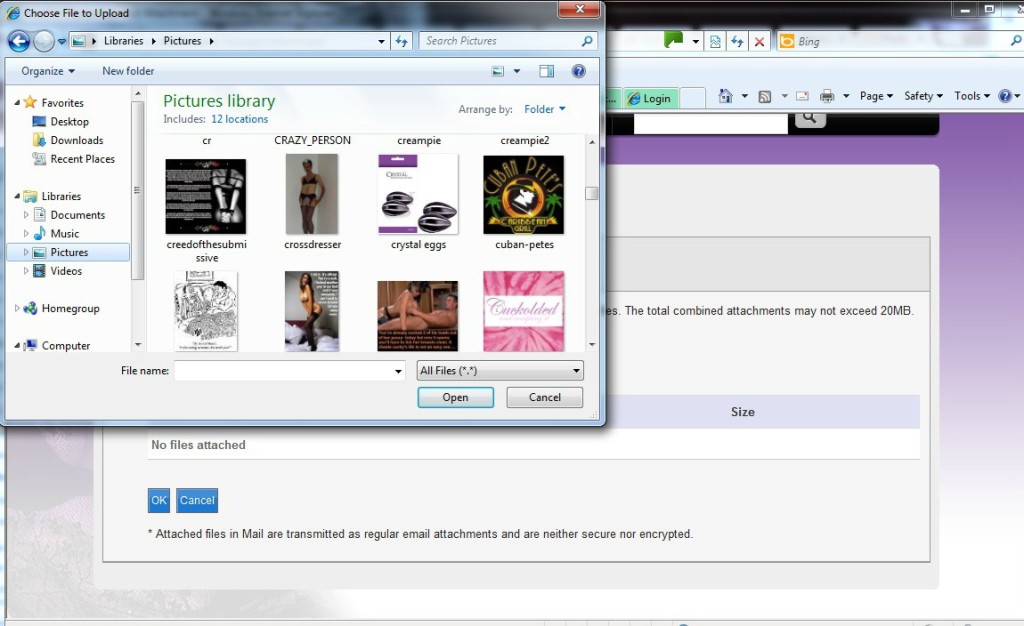
10. The screenshot below shows how when you click to upload a file, it will open your own personal files to select a file from to attach.
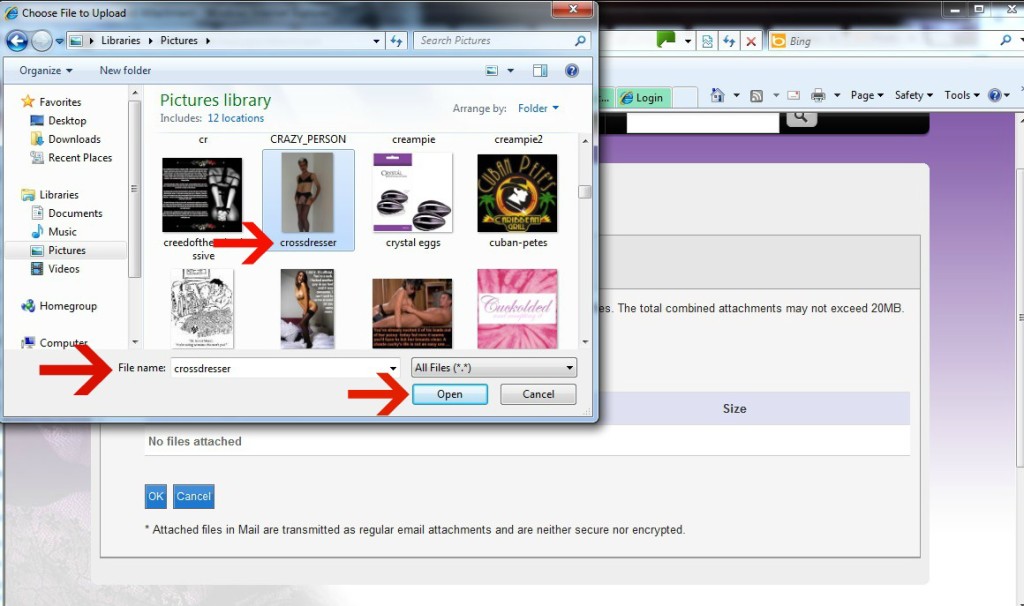
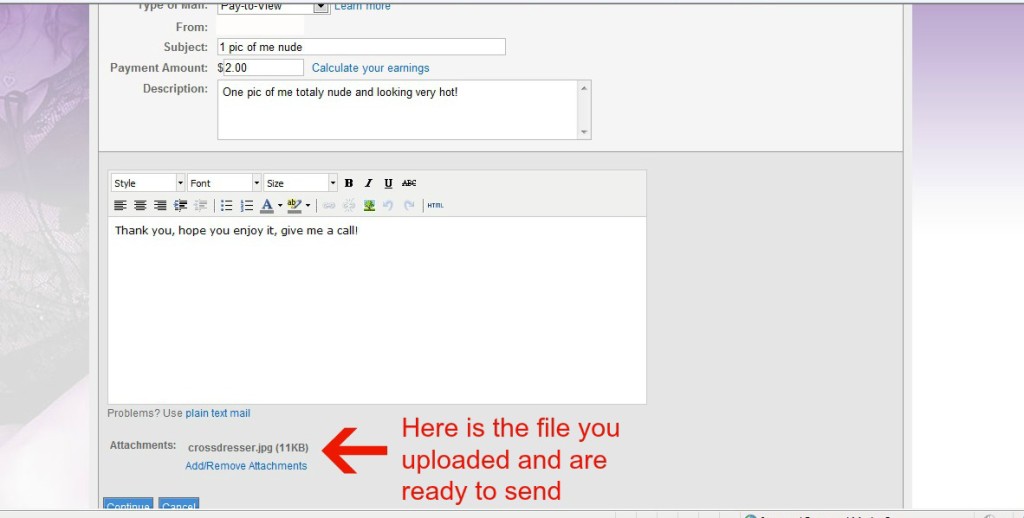
11. Then select the file you want, it will have a blueish cast to it to show you have selected it. See how the file name appears and then click “open” and it will upload your file.
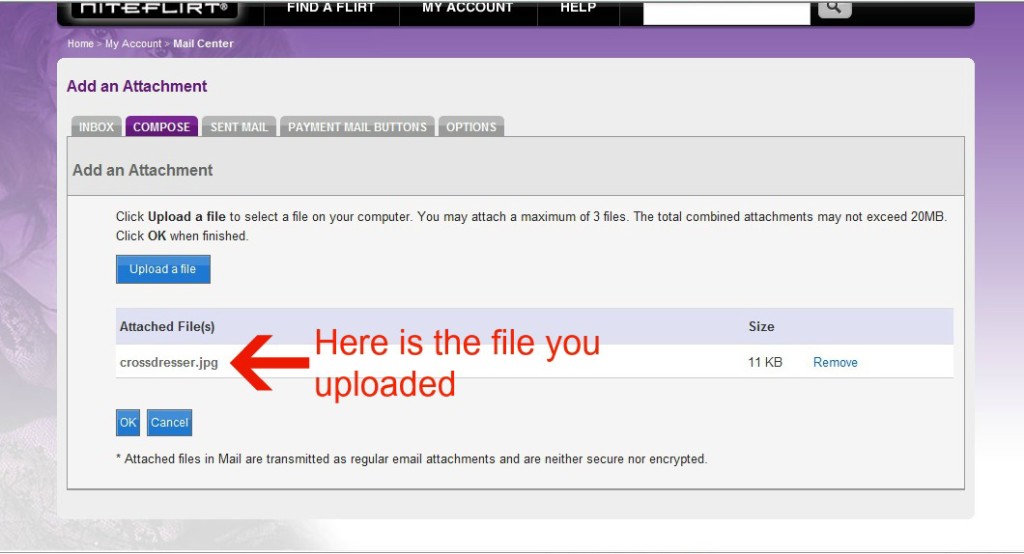
12. Once the file uploads, you can see where it is attached below. You can attach up to 5 files, so you’d repeat those steps for each file you wish to attach.
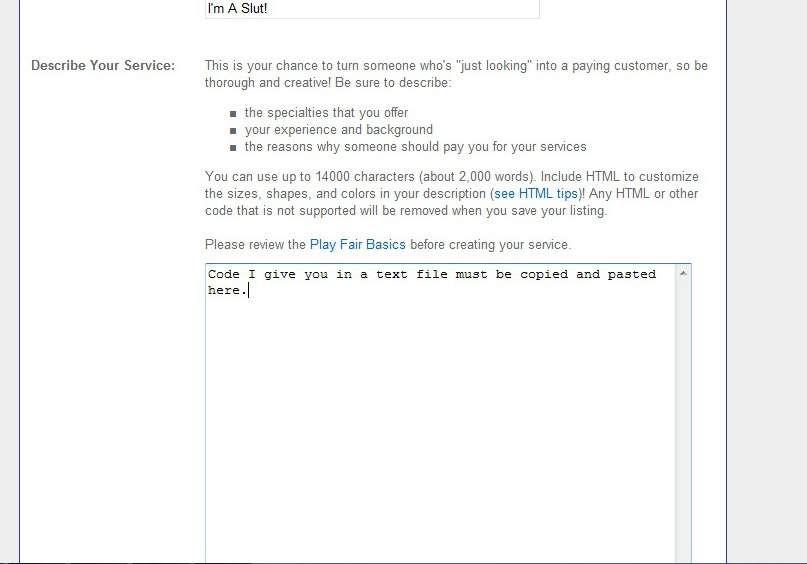
13. Click the OK button and you will be taken to the screen below.
Once you click “continue” you will be taken to the same screen of code as above, I will post again below.
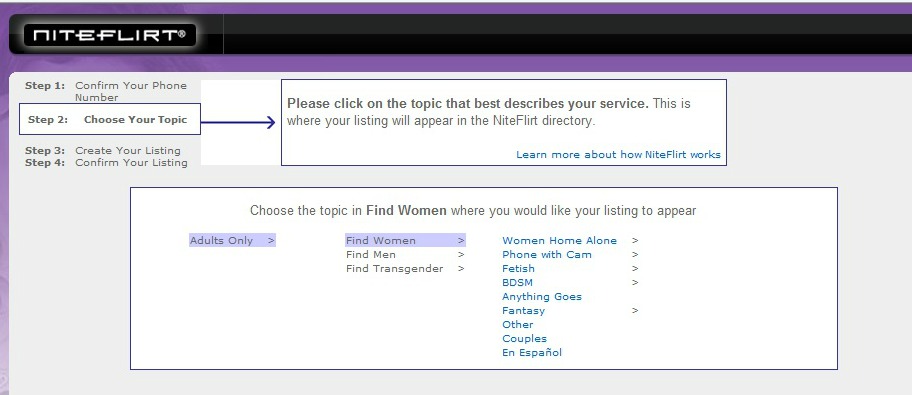
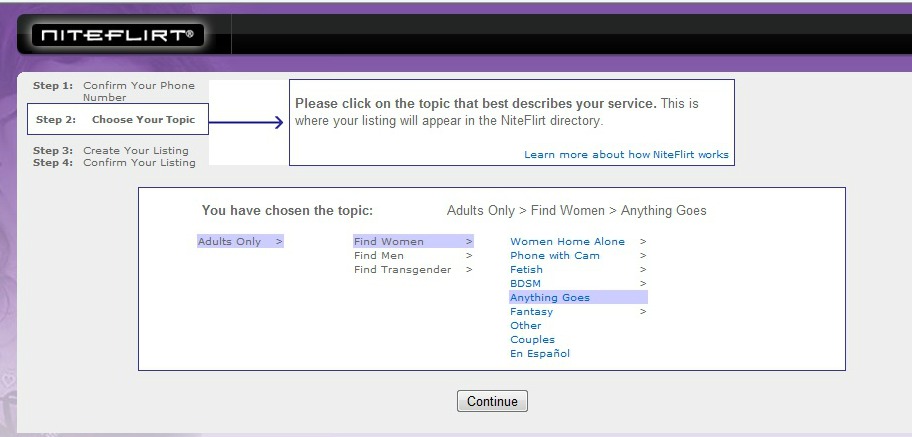
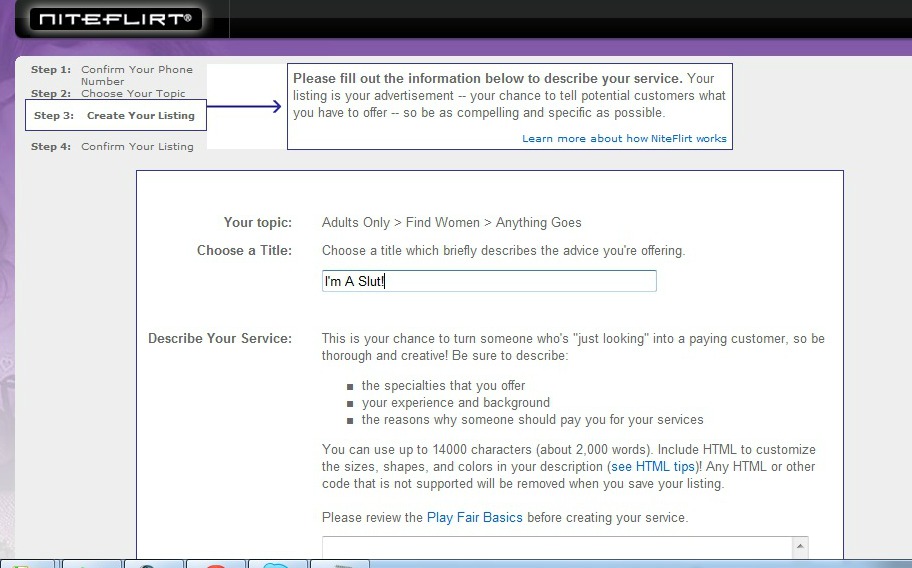
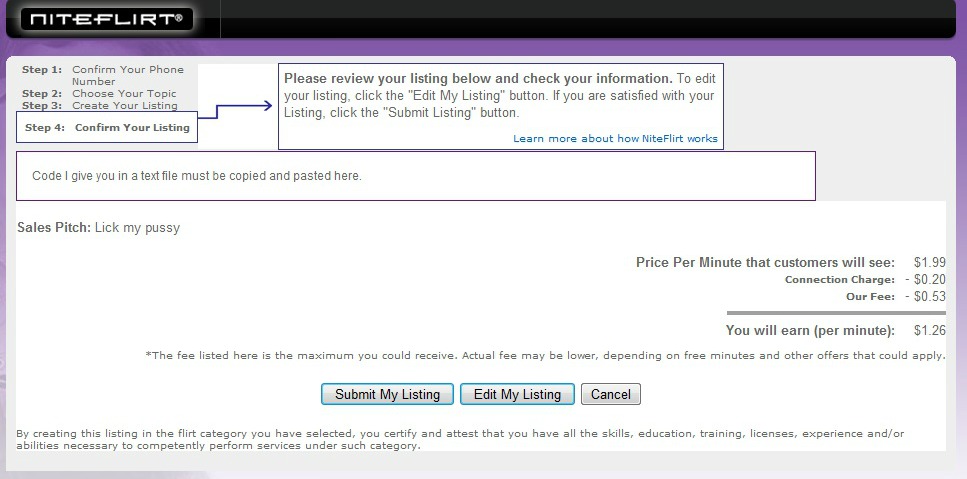
14. How do I create a listing?

